
Tell me, quilty friends. Who doesn't love a project that uses up those scraps and trimmings we have laying around? Recently, my daughter Nicole and I made these really cute Scrap Jar Balls. I was looking for something cute and affordable to fill this fun lime green metal basket from Hobby Lobby. This basket sits on out kitchen table and gets moved at least three times daily, so I wanted something that would also stand up to being dropped and dumped and wouldn't be hard to replace. Fake fruit looked fake and I knew it would chip as it got dropped.

Then I came up with this super easy idea. They were fun and quick to make. You can use trimmings and scraps and can even cut some strips from other larger scraps. You can make each ball from all one fabric or combine different fabrics of the same color to make them extra scrappy! I did a little bit of both. So grab your scraps and let's get busy!

Supplies Needed:
Styrofoam balls from your local craft store ( I used 3" diameter)
Fabric scraps in a variety of colors
Small silver straight pins with a flat head

The best size strip for wrapping around the balls is about 3/8". If the strips are much wider, they don't lay as flat, but if they are too thin, then they might break as you tie knots. If you want to cut some strips from larger scraps of fabric, just cut strips about 3/8" wide.

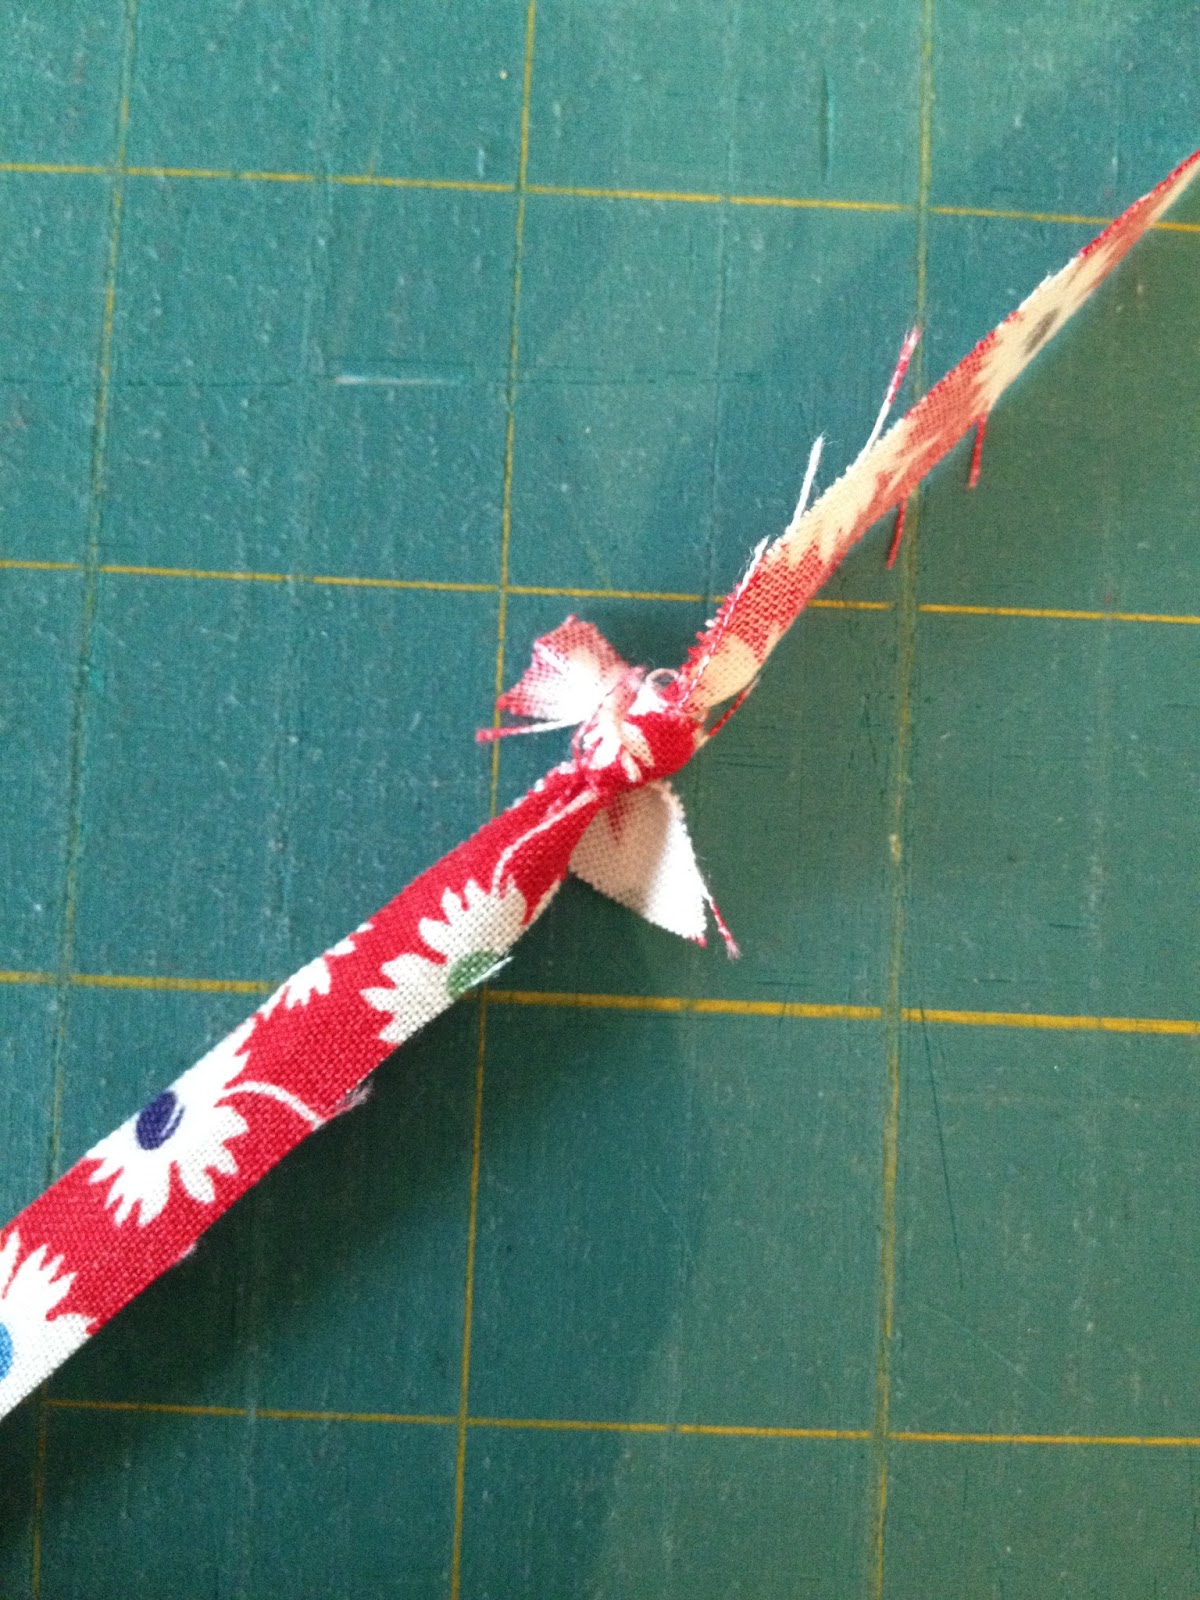
Next, you will want to tie together all the strips you will be using for one ball. Tie a good, strong double knot and trim the tails short. You will need a total of about 13 to 14 feet of scrap strips to cover the ball well with no gaps.
You will need two small straight pins for each ball. I have some of these small, thin silver straight pins. They have a flat head so they will lay flat and be less noticeable.

Insert one end of your long fabric strip into the Styrofoam ball using one straight pin. (Please ignore my totally awful cutting mat.)

Now begin wrapping!!

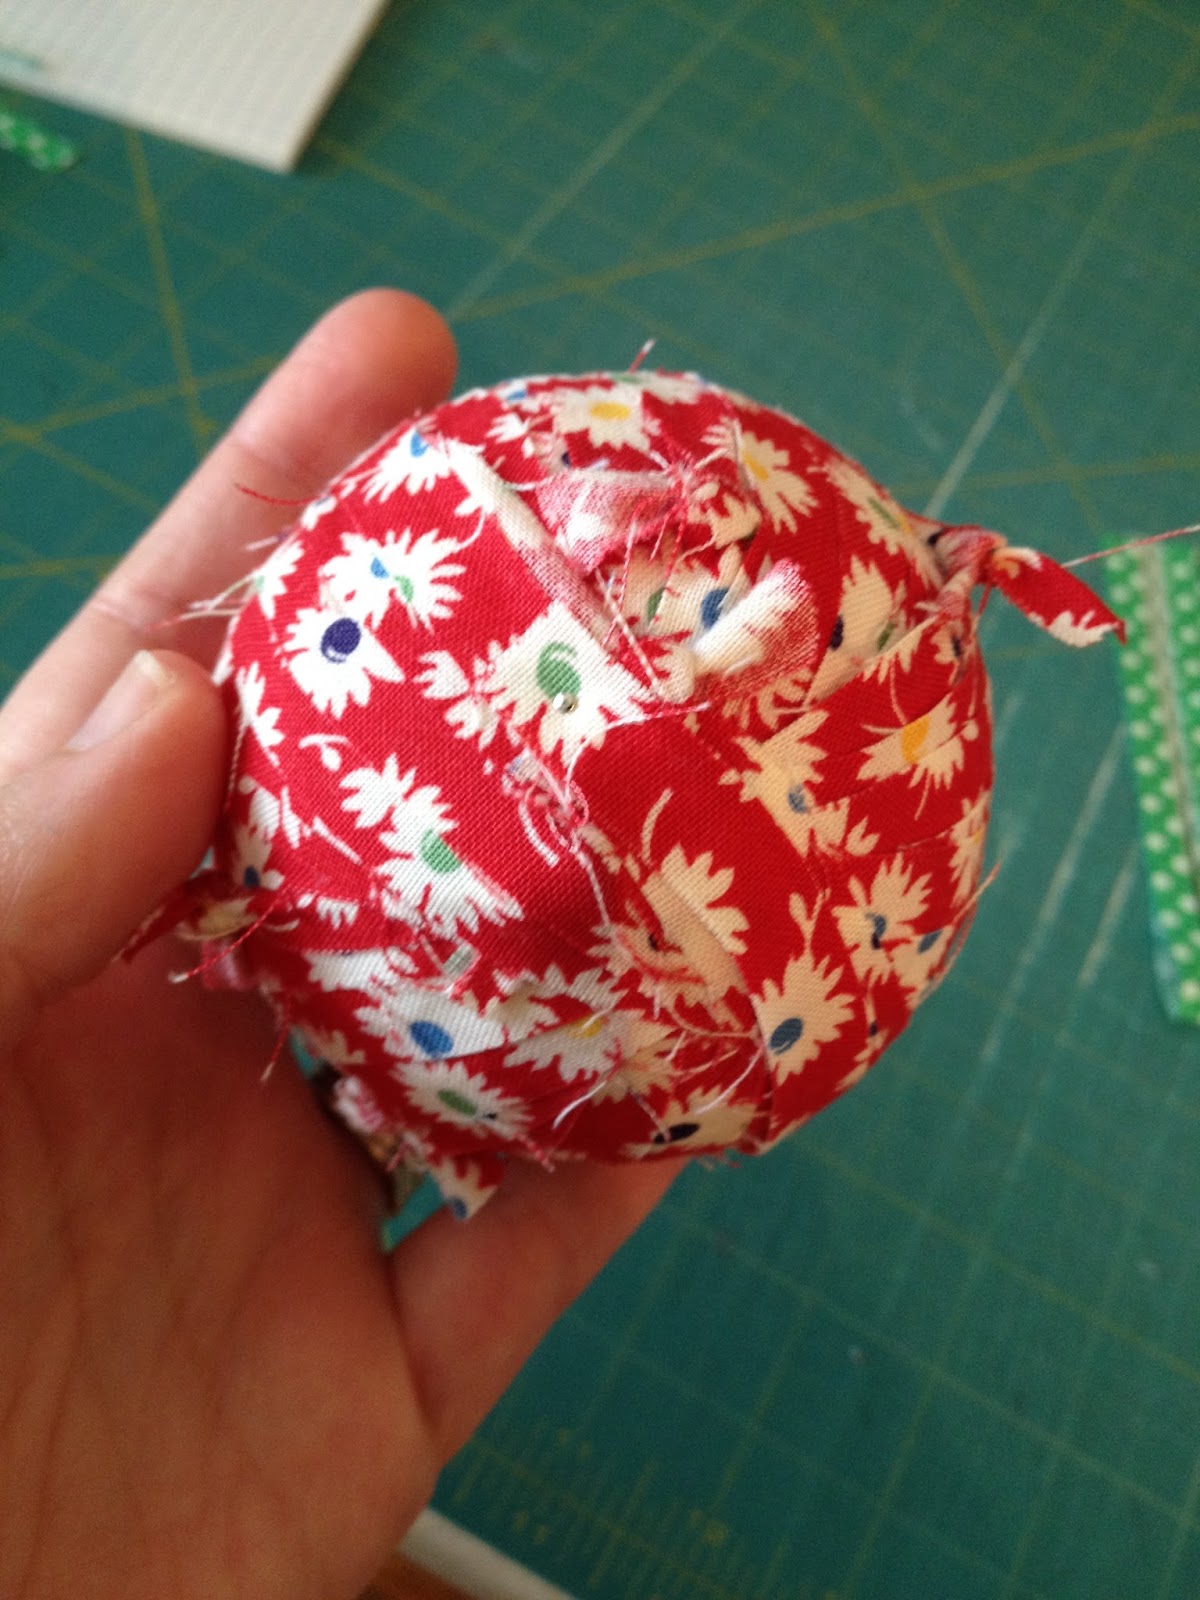
Wrap in circles fanning out around the ball, trying to keep the fabric strips right side up and not leaving any gaps. Every once in a while you will come upon one of your knots. Just work over it and keep going. (These are my sweet girl's pretty hands.)

Wrap all the way around the ball, covering it completely and adjusting for any gaps showing through. If you didn't cut quite enough, you can always add on a little more.
At the end, use your other flat head straight pin to affix the end of the scrappy strip to the ball.

You did it!! You are done!!!!
Now wasn't that easy and fun.
Here's a pretty blue one!

1 comment:
This is such a great idea! Thanks!
Post a Comment